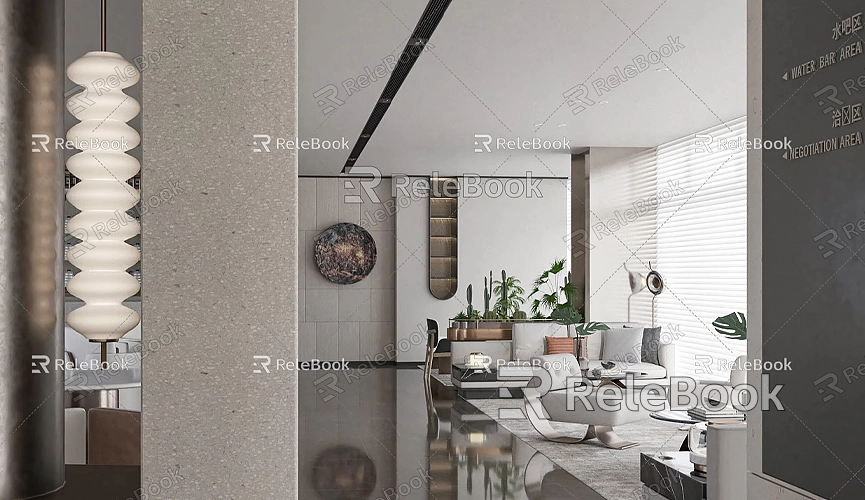
How to Make Models in SketchUp
In modern design, SketchUp has become a highly popular modeling tool, especially in fields like architecture, interior design, and landscape design. Its simplicity, ease of use, and intuitive interface make it accessible for both beginners and professionals, allowing them to quickly create high-quality 3D models. Whether designing houses, office spaces, or sculptures, SketchUp provides powerful modeling capabilities to help designers transform their ideas into visual models.
While the basic functions of SketchUp are very intuitive, many users struggle with how to start from scratch, optimize the modeling process, and improve workflow efficiency. In this article, we’ll explore how to use SketchUp for 3D modeling, covering everything from basic operations to advanced techniques, to help you better master this tool.

Familiarize Yourself with the SketchUp Interface and Basic Tools
To use SketchUp effectively, it’s important to understand its basic interface and tools. When you open SketchUp, you’ll see several toolbars at the top, a navigation panel on the left, and a properties panel on the right for adjusting and setting various model attributes.
- Toolbars: This is the main area for your modeling tasks, including selection tools, drawing tools, editing tools, and more. Common tools like the Rectangle Tool, Push/Pull Tool, Circle Tool, and Move Tool are essential for modeling.
- Panels: The right-side panel offers options for materials, styles, views, and more. Here, you can adjust the appearance of your model, choose different textures, or change the view angle.
Once you’re familiar with these basic tools, you can begin creating models in SketchUp, whether simple geometric shapes or more complex architectural structures. SketchUp provides an easy and efficient way to create models of all types.
Creating Basic Geometric Shapes
The foundation of modeling in SketchUp involves drawing basic geometric shapes. Whether you’re building a house, designing furniture, or creating an outdoor landscape, almost all models rely on these fundamental shapes as building blocks. Rectangles, circles, polygons, and other shapes form the core of your modeling process.
For example, if you want to create a simple room model, start by using the Rectangle Tool to draw a rectangular face on the workspace. Then, use the Push/Pull Tool to extrude the rectangle into a cube or rectangular prism, forming the basic walls of the room. From there, you can refine the model by adding windows, doors, and other elements. The Push/Pull Tool quickly converts a 2D face into a 3D volume, streamlining the modeling process.
In addition, the Line Tool and Circle Tool in SketchUp are very useful for creating more complex shapes. These tools allow you to draw precise lines and curves, which you can adjust or modify according to your design needs.
Refining the Model and Adding Details
After creating the basic geometry, the next step is to add details and decorations to make the model more realistic and intricate. At this stage, the Push/Pull Tool remains vital, but using the Move Tool and Rotate Tool to adjust elements is also common.

In SketchUp, components and groups are extremely helpful features. Components are reusable model elements, so when you modify one instance of a component, all other instances are updated automatically. Groups, on the other hand, combine multiple objects into a single unit, preventing them from interfering with each other during editing. When designing a house, windows, doors, and other elements are often created as components to improve modeling efficiency and reduce errors during modification.
If your design requires finer textures and details, you can use SketchUp’s built-in material library. SketchUp offers a wide variety of material styles, including wood, metal, glass, and more. You can use the Materials Tool to apply appropriate textures to walls, floors, roofs, and other surfaces. For even higher-quality 3D textures, you can download external resources, like textures from Relebook, which provide a rich selection of textures to make your models more vivid and realistic.
Using View and Camera Tools to Optimize Presentation
SketchUp offers several view modes and camera tools that help you present your 3D model in the best possible way. During the design process, switching between different views and angles can help you clearly observe and adjust the details of your model. You can use the Perspective View to simulate a realistic viewing effect or use the Top View to view the building's floor plan.
Additionally, SketchUp has a powerful Scenes feature that allows you to save snapshots of your model from different perspectives. When presenting your model, you can quickly switch between scenes to showcase the model from various angles.
Using Materials and Textures
In SketchUp, the use of materials and textures is a key part of the modeling process, especially when showcasing real-world buildings or objects. Materials and textures add depth and realism to your model. SketchUp provides a rich library of built-in materials, including textures for walls, floors, glass, metal, and more.
In addition to the built-in materials, SketchUp also supports importing custom materials. If you need high-quality 3D textures or HDRI for your models and virtual scenes, you can download them for free from [Relebook](https://textures.relebook.com/). For beautifully detailed 3D models, you can also download resources from [Relebook](https://3dmodels.relebook.com/), which offers a wide variety of premium 3D assets to enhance your models and save time.
Optimizing Large Models
As your models become more complex, especially when designing large buildings, SketchUp’s performance may be affected. To ensure that your model runs smoothly, here are a few optimization tips:
- Simplify the model: Reduce unnecessary details, particularly small components and decorative elements. Separate complex details into individual components and reduce the number of polygons for each object.
- Use layers and groups: Organize your model with layers and groups, hiding parts that you don’t need to modify. This can significantly improve workflow efficiency.
- Minimize the use of materials: Every material consumes extra memory and processing power, so only use materials when necessary.
- Regularly clean up the model: When working with large models, periodically remove unnecessary elements and clean up redundant data to keep the file size manageable.
Exporting and Sharing Models
After completing your model, SketchUp allows you to export it in various formats, making it easy to render, animate, or print your design. You can export your model as a .skp file or choose other formats like .dae, .obj, or .fbx for use in other software or platforms.
As a powerful 3D modeling tool, SketchUp provides extensive support for various design needs. By mastering basic tools, refining details, using components, and applying materials, you can create high-quality architectural models, interior designs, and virtual environments. Additionally, plugins and external resources can help enhance your modeling efficiency and model complexity.
Whether you're a beginner just starting with SketchUp or an experienced designer looking to improve your skills, continuously refining your modeling techniques and optimizing your workflow will make your experience with SketchUp smoother and more efficient. We hope this article helps you master the modeling methods in SketchUp and unleash your creativity to create stunning 3D models.

